Wednesday, September 24, 2014

Old Covered Bridge

Double click photo to zoom in
Welcome friends! Today, the Artistic Outpost Design Team is sharing projects created with various Artistic Outpost fall stamp sets or AO sets with fall colors.  When I finally went to our design team site and read the challenge guidelines, I laughed out loud.  If you have been reading my blog the past few weeks, you have seen one fall piece after another.  Don't you think I have done enough fall pieces?  Before I get to the details, I just wanted to introduce you to the design team who will be participating in the blog hop.  I hope you will stop by their blogs and leave them some encouragement.
Terry * Tracy * Kate * Linda * Gerrie * Lisa

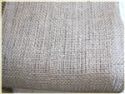
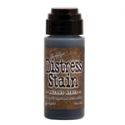
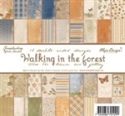
I thought I had already exhausted all my fall inspiration but I pulled out my pack of Maja Design's Walking in the Forest, which is the most beautiful fall paper I have ever seen.  That really got me inspired.  From there, I grabbed my absolute favorite fall stamp set - Artistic Outpost's Old Grist Mill.  I wanted to add a rustic element and went with burlap.  The burlap was brushed on the reverse with Multi Medium Matte and allowed to dry thoroughly before I die cut it.  I dabbed some Walnut Stain distress stain around the die cut edge of the burlap.  The burlap was cut with the Baroque Movers and Shapers die and the stamped focal image was cut with the Mini Baroque Movers and Shapers die.

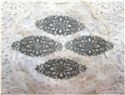
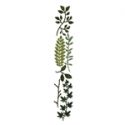
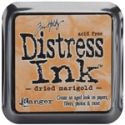
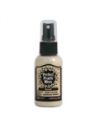
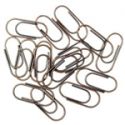
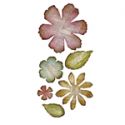
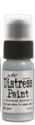
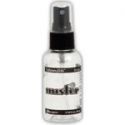
The filigree metal is a piece from my shop that I painted with Antique Linen distress paint and the burnished over the top with a burnishing block to bring out the metal highlights.  The sentiment, which I love, is also from the Old Grist Mill set.  The sentiment banner is hand cut.  The fall foliage was cut with the Spring Greenery die, sponged with Dried Marigold DI and then spritzed with Biscotti Perfect Pearls Mist.  I used a mini paper clip to attach a tiny scrap of dyed seam binding to give it a little extra coordinating color.  

Hope you like my fall inspired card.  Thanks so much for dropping by today!


The products below can be purchased at The Funkie Junkie Boutique, where Ranger/Tim Holtz and most other name brand products are always 20% below MSRP.


Sunday, September 21, 2014

Autumn Harvest

It's coming!  I know it is!  Autumn is almost here in South Florida.  It will be 66 degrees Sunday morning.  Yipee!  Time to open some windows. I have another autumn tag to celebrate the season.  

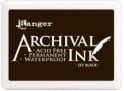
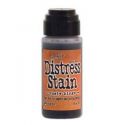
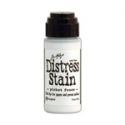
This tag was started with a jumbo manila tag from my shop.  I did the marbling technique with two distress stains - rusty hinge and picket fence.  The ledger stamp from Ephemera Backgrounds was lightly stamped in jet black archival ink.  Then I stenciled a woodgrain patten with a Tim Holtz stencil onto the tag in Gathred Twigs.  Once my background was completed I stamped the building from Kudzu Kafe in jet black archival.  The pumpkins were stamped on manila CS, colored with rusty hinge and fussy cut.  The pumpkins and the sentiments are from Hayride.  
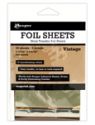
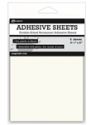
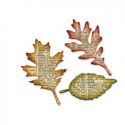
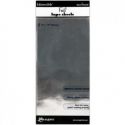
The new Ranger Adhesive Sheets was applied to a piece of acrylic packaging and the leaves were cut with the Mini Tattered Leaves die.   Then the new Ranger Shiny Foil Transfer Sheets - Vintage was applied.   A rustic touch was added with burlap, buttons and a floral charm that was altered with Spiced Marmalade distress paint.  

Thanks for stopping by.  I hope you are having a sunny fall weekend!


These products were used to make the above tag and can be purchased at The Funkie Junkie Boutique, where Ranger/Tim Holtz and most other name brand products are always 20% below MSRP.
Wednesday, September 17, 2014

A Heart Attack

Double click image to zoom in

Cross my heart and hope to die, stick a needle in my eye.  Remember that rhyme from childhood?  

I'm back with week #2 - the Funkie week - of Trace's From the Heart challenge over on the Frilly and Funkie blog.  I hope I haven't offended anyone with my rather macabre interpretation of the challenge.  All it calls for is to make a heart the focal point of your vintage style piece.  And that's what it's all about, right?  The fun is seeing how all the players interpret the challenge.  

I really love vintage Halloween art and since I am into the Halloween mode these days, as soon as I started brainstorming for Trace's challenge, this theme came to mind.  I managed to restrain myself for the Frilly week and let myself go for the Funkie week.  Unfortunately, the concept was better than the reality.  

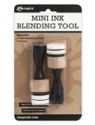
I started with a jumbo manila tag and gave it two coats of Black Soot distress paint, drying with my heat tool between each coat.  Then I stenciled silver ink using a mini ink blending tool and the new Gothic stencil (LOVE that stencil).  I tried sponging on Brushed Pewter distress paint but it was too fluid and seeped under the stencil creating a blurry image.  Three tags were cut using the Tiny Tabs and Tags Bigz die.  One was stamped with the Poison stamp from Spooky Stuff, one with the mini skull from Mini Halloween 3 and the third one with the sentiment was printed on my home printer.  Each tag was sponged with Vintage Photo DI and then red embossing powder was added in splotches.  
Next I embossed the dripping blood from the Spooky Stuff set in red EP, but it was too dark, so I stamped over it with Red Pepper acrylic paint dabber.  I think that's what is giving me the visual problem with this piece.  The blood is too bright red, but that's the only red acrylic paint I had on hand.  I stamped it again down lower with the Red Pepper paint.  I originally embossed the heart with red EP too, and then painted over it with the Red Pepper paint.  The red EP was too dark and the Red Pepper paint too bright.  
I cut the flower using both the Distressed Flowers decorative strip die and the Jumbo Tattered Florals.  All flower die cuts were white.  I stamped them with the script stamp from Apothecary in Jet Black archival and then sponged them with Black Soot DI.  Then I scribbled a bit of Brushed Pewter distress paint on my craft sheet, misted it with water and smooched the flower pieces around in it, scrunching them up nicely and then drying with my heat tool.  More Red Pepper paint dabber was drizzled on the flower.  

It needed a little something else so I cut a strip of Foil Tape with the Vintage Lace die to go across the top.  Also added a couple of silver corner pieces that I coated with Black Soot distress paint to distress them.  

Thanks so much for stopping by!  That's it for this week's Frilly and Funkie post.  I hope you will check out the beautiful pieces from the rest of our team!


The products below were used to create the piece above and are available at The Funkie Junkie Boutique were Tim Holtz/Ranger products are always 20% below MSRP.


Blog Widget by LinkWithin


I changed my font at thecutestblogontheblock.com