Thursday, July 31, 2014

A Vintage Vacation


 Hello friends, I am back today with a card (yes, a card :) that I made for yesterday's kickoff of a new challenge over at Frilly and Funkie.  (I decided to wait to post it a day late because I had a blog hop going on yesterday for Artistic Outpost.)  This new challenge is being hosted by Nancy Dynes and she wants us to make a project with a vintage travel theme.  I, like most of my DT sisters, envisioned a vintage vacation to Paris for my make.  I started with an A2 size of white card stock and ran it through the Air Mail Texture Fade, then sponged it with Faded Jeans.  I wanted my vintage Paris piece to be girlie and I found the lovely vintage rose card on the Lilac and Lavender blog.  If you haven't visited Megan Berry before, you should.  She does absolutely amazing digital work with old vintage images.  And get gives it away free on her blog!

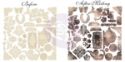
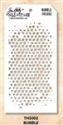
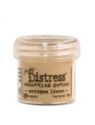
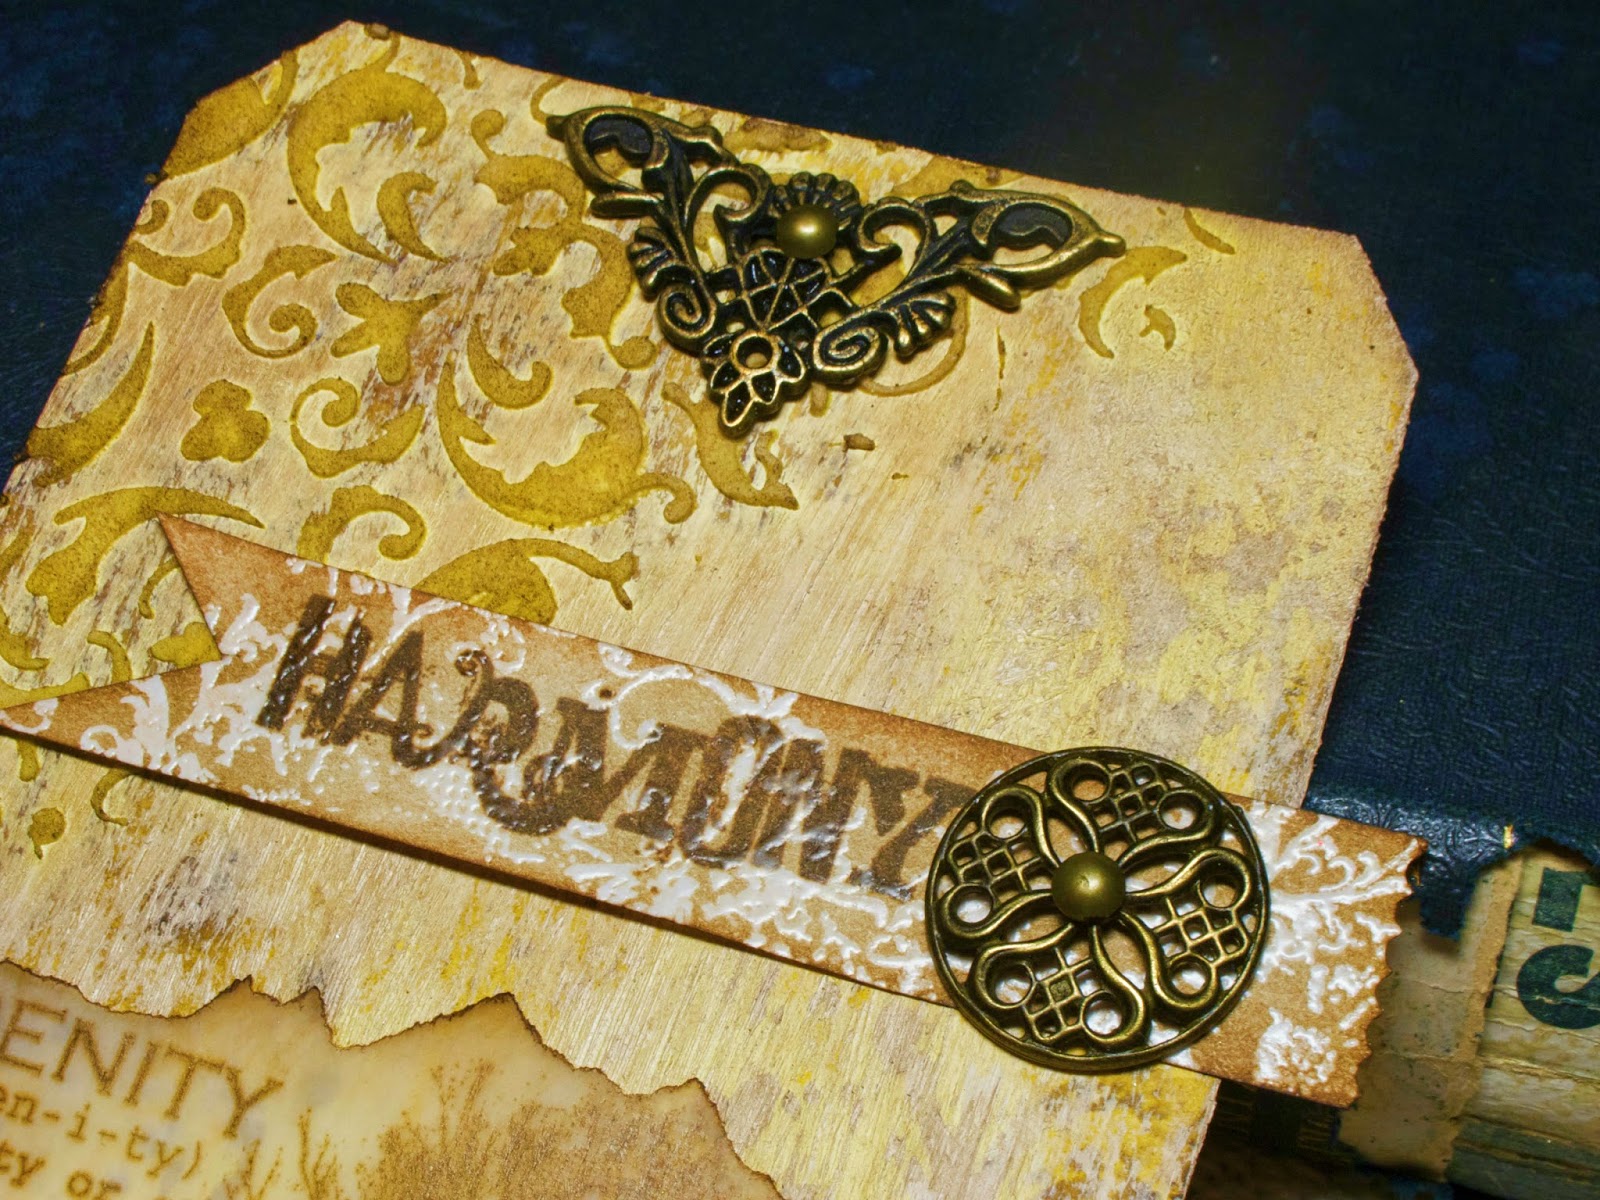
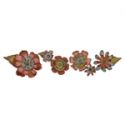
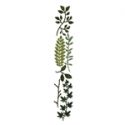
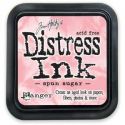
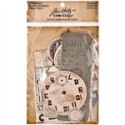
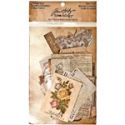
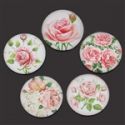
I let the rose image set the tone for the piece and in keeping with the girlie feel, I cut a really pretty lacy white doily with a Prima die (so sorry that they are out of stock in the store this week, but they are on order and should be back in stock soon).   I added a flower to the doily, made by die cutting white CS with the Tattered Flowers decorative strip die and colored with spun sugar and diluted Victorian Velvet.  And an ivy cut with the Spring Greenery die sets the flower off beautifully (I am SO addicted to that greenery die!).  I grabbed Tim Holtz's Ephemera packs - I have both the Thrift Shop and the Expedition packs and I'm afraid they have gotten combined so I don't know where these images came from but I suspect they were from the Expedition pack.

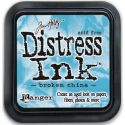
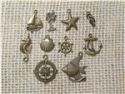
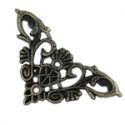
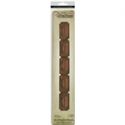
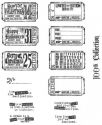
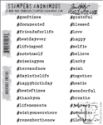
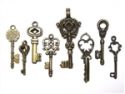
The ticket was cut with the Ticket decoratve strip die and stamped with one of the ticket stamps from Odds and Ends.  I stamped the sentiment #memories with the #hashtags set and added the "travel" rub-on.  A pretty rose dome cabochon and a lovely little filigree key with a tiny scrap of Faded Jeans dyed seam binding from the shop finished off the panel very nicely.

Next I needed to figure out how to mat it.  I looked through my patterned paper stash but did't find anything suitable so I decided to go with stripes  I used Wendy Vecchi's Yipes Stripes stencil and sponged it with Faded Jeans.  I love the way it looks as a backing for my panel.

That's it for now.  Thanks so much for stopping by.  I hope you enjoyed my vintage travel card!


These products were used to make the above card and can be purchased at The Funkie Junkie Boutique, where Ti Holtz, Wendy Vecchi and most other name brand products are always 20% under MSRP.                                    

Wednesday, July 30, 2014

Take Me to the Sea

Hi everyone!  Today, the Artistic Outpost Design Team is sharing projects created with various Artistic Outpost plates.  I'm excited about participating in the hop.  I'm still in full summer seashore mode and have I created a project using Artistic Outpost's Beyond the Sea set.  I'll get to the details in a moment, but wanted to make sure you know that for more inspiration be sure to visit the Artistic Outpost Blog to see the other designers projects, or click their blog links 


Oops, I almost forgot to tell you...right now, Artistic Outpost has a great sale going on! Through Saturday, August 2, 2014 11:00PM EDT, you can save 20% on the stamp plates found in the Flowers and Gardening section on the Artistic Outpost website. More details can be found here. (Sorry, no rain checks, offer is for our retail customers only.) AO's parent company,Our Daily Bread Designs and sister company, North Coast Creations are also having a sale this week!

And now for the details on my project, I wanted sort of a watercolor, misty effect so I started with a half sheet of Ranger's Specialty Stamping paper and my Broken China ink pad.  I spread a little ink on my craft sheet, misted it and smooshed the paper into the ink letting it run a bit.  Then I added a few drops of Peeled Paint and let it run also.  The stamping was done by inking a stamp with Black Soot DI and misting the stamp to give a water color effect.  For the grass, I used the grass stamp from the Keeper set, also misting the stamp before stamping each time.  Then I misted the paper VERY lightly just to let it blur a bit.  I followed that by dipping a paint brush into watered down Peeled Paint and filling in some of the grassy areas with touches of green.  Next the sentiment and birds were stamped followed by some stenciling with embossing ink and the Bubbles stencil.  I sprinkled on Antique Linen distress embossing powder and heated it on.  
It seemed to be lacking something in the upper left corner.  I recently acquired these cool canvas die cuts from Prima.  They have a design embedded into them that shows up when you ink them.  I inked mine with Broken China and edged it with Vintage Photo.  I love the fun breeze movement it lends to the piece.  
Next a sand dollar was die cut with the new Sand and Sea die.  It was plain gray chipboard which I painted with Picket Fence distress paint and then embossed with Enamelware embossing powder.  A little cheese cloth and Broken China dyed crinkle ribbon add a bit more texture and interest and a memo pin with a bronze starfish charm finished it off.  

Thanks so much for stopping by today.  I hope you are joining us on the hop!


The product used to make this project are available at The Funkie Junkie Boutique, where Tim Holtz/Ranger and most other name brand products are always 20% below MSRP:


Saturday, July 26, 2014

Summer's Serenity

This week I was swept away by the sweet serenity of summer and have made a tag using the Artistic Outpost Serenity set.  Starting with a jumbo manila tag, I brushed it with gesso and then sponged it with sunny Mustard Seed.  Then Wendy Vecchi white embossing paste was stenciled on and when dry, was sponged with Walnut Stain plus a little Walnut Stain was sponged around all the edges.  The stamping was done with Potting Soil archival ink, both on the tag and a scrap of vellum.


The sentiment banner was first stamped with the sentiment, then the flourish from Serenity was stamped with embossing ink and clear embossed. Once that was done, it was sponged with Walnut stain.
I used Vintaj paints to give the peacock a verdigris patina.   My tag was finished off with some of my favorite filigree metals from The Funkie Junkie Boutique.

Hope you are having a serene summer weekend.


Blog Widget by LinkWithin


I changed my font at thecutestblogontheblock.com