

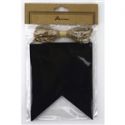
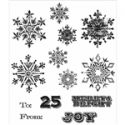
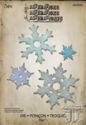
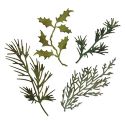
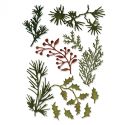
Thanks for coming back to take a closer look at the next four flags on my Let it Snow banner. First up is the spacer between Let and It. Rather than stenciling on the spacers, I used the Tim Holtz Mini Weathered Winter stamp set and stamped a few randomly placed snowflakes using Glacier White craft ink. I really like how this stamp looks on the black chalkboard paper. I brushed on gesso for the icicles with a thin paint brush and gave it a few flicks of Picket Fence distress paint with the Tim Holtz Spatter Brush. Then I cut the pieces for the snowflake out of heavy chipboard using the Stacked Snowflake die. I seem to get getting a lot of use out of that die this year. It's really become my main go-to die for Christmas crafting. I painted the gray chipboard white with Picket Fence Distress Paint. I ended up giving it two coats of paint because distress paint is thin and it needed two coats to really make it white. The "greenery" was cut with the Mini Holiday Greens die for the top left piece and the Holiday Greens die set for the holly branch on the right.

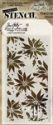
The 'I' banner was stenciled with the Tim Holtz Layering stencil Poinsettia. Glacier White craft ink was dabbed on using the Mini Ink Blending Tool. I reached way back to a very early Tim Holtz Bigz die - Winter Wonder. I gave the snowman a red scarf using some jumbo red rick rack from my stash. The letters are 2" chipboard that I picked up at Hobby Lobby as I don't have an alphabet die that large. I painted them white with Picket Fence distress paint. I wish I had given the letter a second coat of paint or used white gesso because they are not as bright white as the rest of the elements. Once the paint was dry, I gave them a thick coat of Glossy Accents and applied some very chunky glitter that I purchased years ago at Jo-Ann.

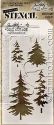
The Tim Holtz layering stencil used for the 'T' banner is the Woodlands stencil. I cut the Noel die cut using the old Vintage Noel Bigz die. This one is a classic that I absolutely love and try to use at least once a Christmas season. It was cut from white CS and colored red with Festive Berries distress stain Then I applied embossing ink and embossed it with clear Ultra Thick Embossing Enamel.

For the second spacer, ditto the one above except both of the "greenery" pieces were cut with the Holiday Greens thinlits die set.

Thanks for visiting!

The products below were used to make the above project. They are available at The Funkie Junkie Boutique where Tim Holtz, Ranger and most other name brand products are always 20% below list.
 |  |  |  |  |
 |  |  |  |  |
 |  |  |  |  |
 |  |


3 comments:
Dear Linda, you really are an endless source of inspiration! I love this banner, for this Christmas unfortunately I have no time, but certainly I will copy your idea for next year.
Terrific project and it looks stunning
Love Chrissie xxx
Your banner is incredible. Thank you so much for telling us the nitty gritty of how you made the individual panels. It's wonderful.
Post a Comment