Welcome! I'm happy you are paying me a visit. And a special welcome to all of my new followers. I see I have a number of new visitors/followers this week, probably due to the 12 Tags challenge I have been running. I hope you will enjoy visiting my blog as much as I enjoy creating the projects I share.
And now it's time for me to share the card I made for the currently running challenge over at
Our Creative Corner. A huge thanks to Laura for giving us a challenge theme that is so close to my heart. We are to create a vintage Christmas piece using only neutral colors...in Laura's own words "use a neutral palette....so think about shades of creamy hot chocolate, glistening white snow, rich dark sherry and mince pies, ivory candles, rustic wooden logs, roasting chestnuts and brown paper packages tied up with string!
This Christmas we want you to make anything you like - Cards, ATC's, Tags, Scrapbooking, journals, Gifts, Altered art......anything you like....but please use only neutral colours from ice white, through to ivory and cream, beige to dark brown and black. You can also use metal embellishments, metal paints and stains.
Please Note - Your creation does NOT have to be 'Vintage style' - We would love to see Christmas creations in any style, but please keep to a neutral colour scheme."

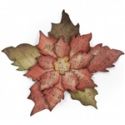
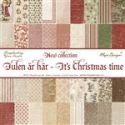
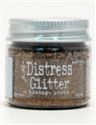
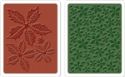
Can you see now why that made me so happy? Completely my favorite style of creating!! My problem was where to begin - I had so many ideas floating around it was hard to settle on just one. I saw Tim Holtz's Frosted Film poinsettia recently and have been dying to try something with Frosted Film, but mine is not translucent as his was. So I used that as a starting point imaging what it would like like in vintage browns. I used a beautiful paper from Maja Design's It's Christmas Time and applied the Frosted Film, then cut it with the Tattered Poinsettia die. After running it through the matching poinsettia texture fade, I inked the edges and high points with Vintage Photo DI. That wasn't enough so I also went over the edges and high points with Tarnished Brass DS. The bottom layer doesn't have frosted film, I cut a coordinating patten with the die, inked the edges and then stippled on Glossy Accents and applied Vintage Photo distress glitter in a random fashion. A center of gold adhesive balls finished it off.
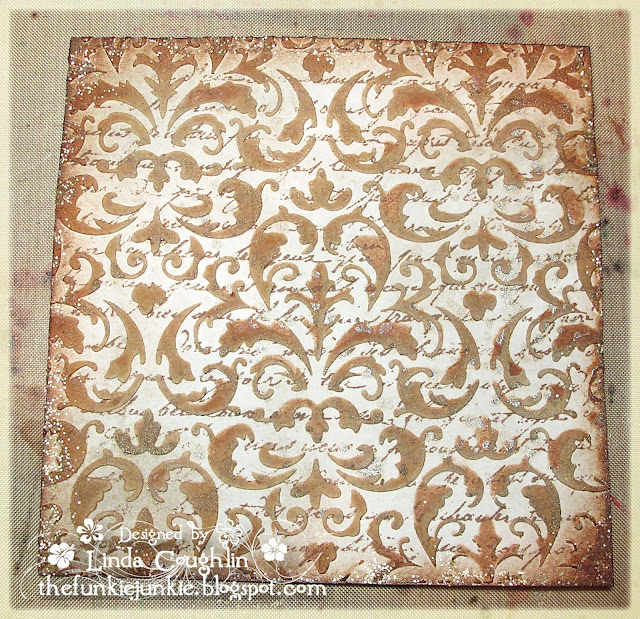
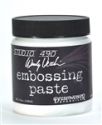
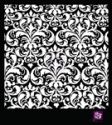
Now I had my focal point, how was I going to use it? I just got in some new Prima stencils in the store and grabbed the Flourish one and decided to make my own background for the card. Starting with a square of white CS, I stamped a Wendy Vecchi script stamp in Potting Soil archival ink and then laid the stencil over the card stock. I sponged Vintage Photo DI all over it and then leaving the stencil in place, I applied Wendy Vecchi's white embossing paste, going back over it several times with a credit card to smooth it out. The white paste absorbed the vintage photo DI and not evenly - how cool is that? I loved the way it came out. Once dry, I spritzed some Heirloom Gold Perfect Pearls mist on my craft sheet and blotted the piece in it, drying it with my heat tool. Still not enough bling so I randomly applied Antique Linen distress glitter around the edges.

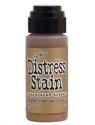
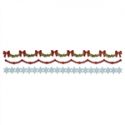
On a roll now, I cut a garland from white CS, applied Vintage Photo DI and then applied Vintage Photo Distress Glitter. The lace was dyed with boiled down (concentrated) coffee. The banner was white CS, inked with Vintage Photo and swiped with Tarnished Brass distress stain.
That's it - I have to tell you I am head over heels in love this this card! The poinsettia came out gorgeous and I'm still drooling over the stenciled embossing paste - really love the way it absorbed the color of the distress ink!
Thanks so much for stopping by today. I hope you will stop by
Our Creative Corner too and see the wonderful vintage Christmas projects from the rest of the team.

The supplies below were used to make this card. They are available at The Funkie Junkie Boutique, where Tim Holtz and other name brand products are always 20% below MSRP.


14 comments:
Utter gorgeousness! The poinsettia looks so elegantly frosted and the way the ink bleeds through the paste is a joy to behold. That stencil is on my list!!! Jenny x
Not at all surprised you love it Linda, it is absolutely stunning. The Frosted Film looks fantastic over patterned paper and that is a great tip about the stencilling. This is a mini masterpiece! Hugs, Anne x
this is so pretty!
I adore the color!
A poinsettia in neutrals is perhaps even more enchanting than a bold bright red. That's sincerely a beautiful piece of art work you've created Linda :) Excellent challenge too!
It's beautiful Linda!
Linda, this is gorgeous! I love some of the techniques you used. The embossing paste absorbing the DI and the film over cardstock are just fantastic! More fun things to try!! This is an amazing card!
Beautiful and elegant. Just love the poinsettia, the lace, the stencil design, all of it!
What a brilliant use for frosted film! This is fantastic, I love neutral colour schemes. Love it. Xx
Wow, Linda - this is just beautiful! The textured poinsettia is so pretty with that frosted look, and the background is to die for!!
Alison xx
Wow, what a beautiful card.
Thisis gorgeous and like Jennybthat stencil is on my list! Love the textured petals against the goes us background x hugs x
this is absolutely beautiful Linda - the background is stunning and your flower just looks beautiful - love it to pieces xx
Don't know how I missed seeing this amazingly beautiful creation Linda. Cannot tell you how much I like it. Just beautiful.x
I love this project. I just got this Prima stencil and your use of it has totally inspired me. A lovely post. I so agree with Anne that this is a mini masterpiece. Julie Ann xx
Post a Comment