
 |
| Double click any photo to zoom in for details |
Hello friends and welcome to my new followers! So happy to have you back visiting to see what my Tag No. 11 is like. Thanks so much to all of you who are being inspired by my tags and linking up your projects. A warm welcome to the new players too. If you are new to my blog and this challenge, you can find all the challenge details in my week #1 post. If you really hustle there is still time to play along and finish the challenge. You just need to have your projects linked by midnight ET on December 21st.
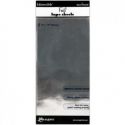
This week I have decided to go for silver metallic. I had been planning to do foil tape covered snowflakes for quite awhile. Then this week, I visited Stamptramp, Shelly Hickox's blog. Shelly is doing a 12 Days of Ornaments series and she did one that was a faux galvanized metal surface. If you don't follow Shelly, you should. I always say she is the Queen of Faux Finishes. She has countless tutorials on her blog for faux finishes - all totally amazing. Anyway, as soon as I saw her fantastic faux galvanized metal, I wanted to try it and since I already had most of the details for this tag worked out, I went for it here.
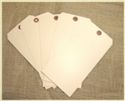
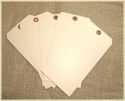
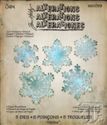
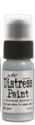
Starting with one of the jumbo manila tags I sell at The Funkie Junkie Boutique, I used the Paper Snowflakes thinlits die set to cut light chipboard and affixed the snowflakes to my tag. Then I carefully adhered the foil sheet and using a stylus with a ball tip, I burnished the snowflakes, getting into all the cracks and crevices to make them stand out. According to Shelly's directions I lightly sanded the foil tape and dabbed on Brushed Pewter metallic distress paint and when partially dry dabbed on tiny bits of Black Soot distress paint, immediately pouncing it with my finger.
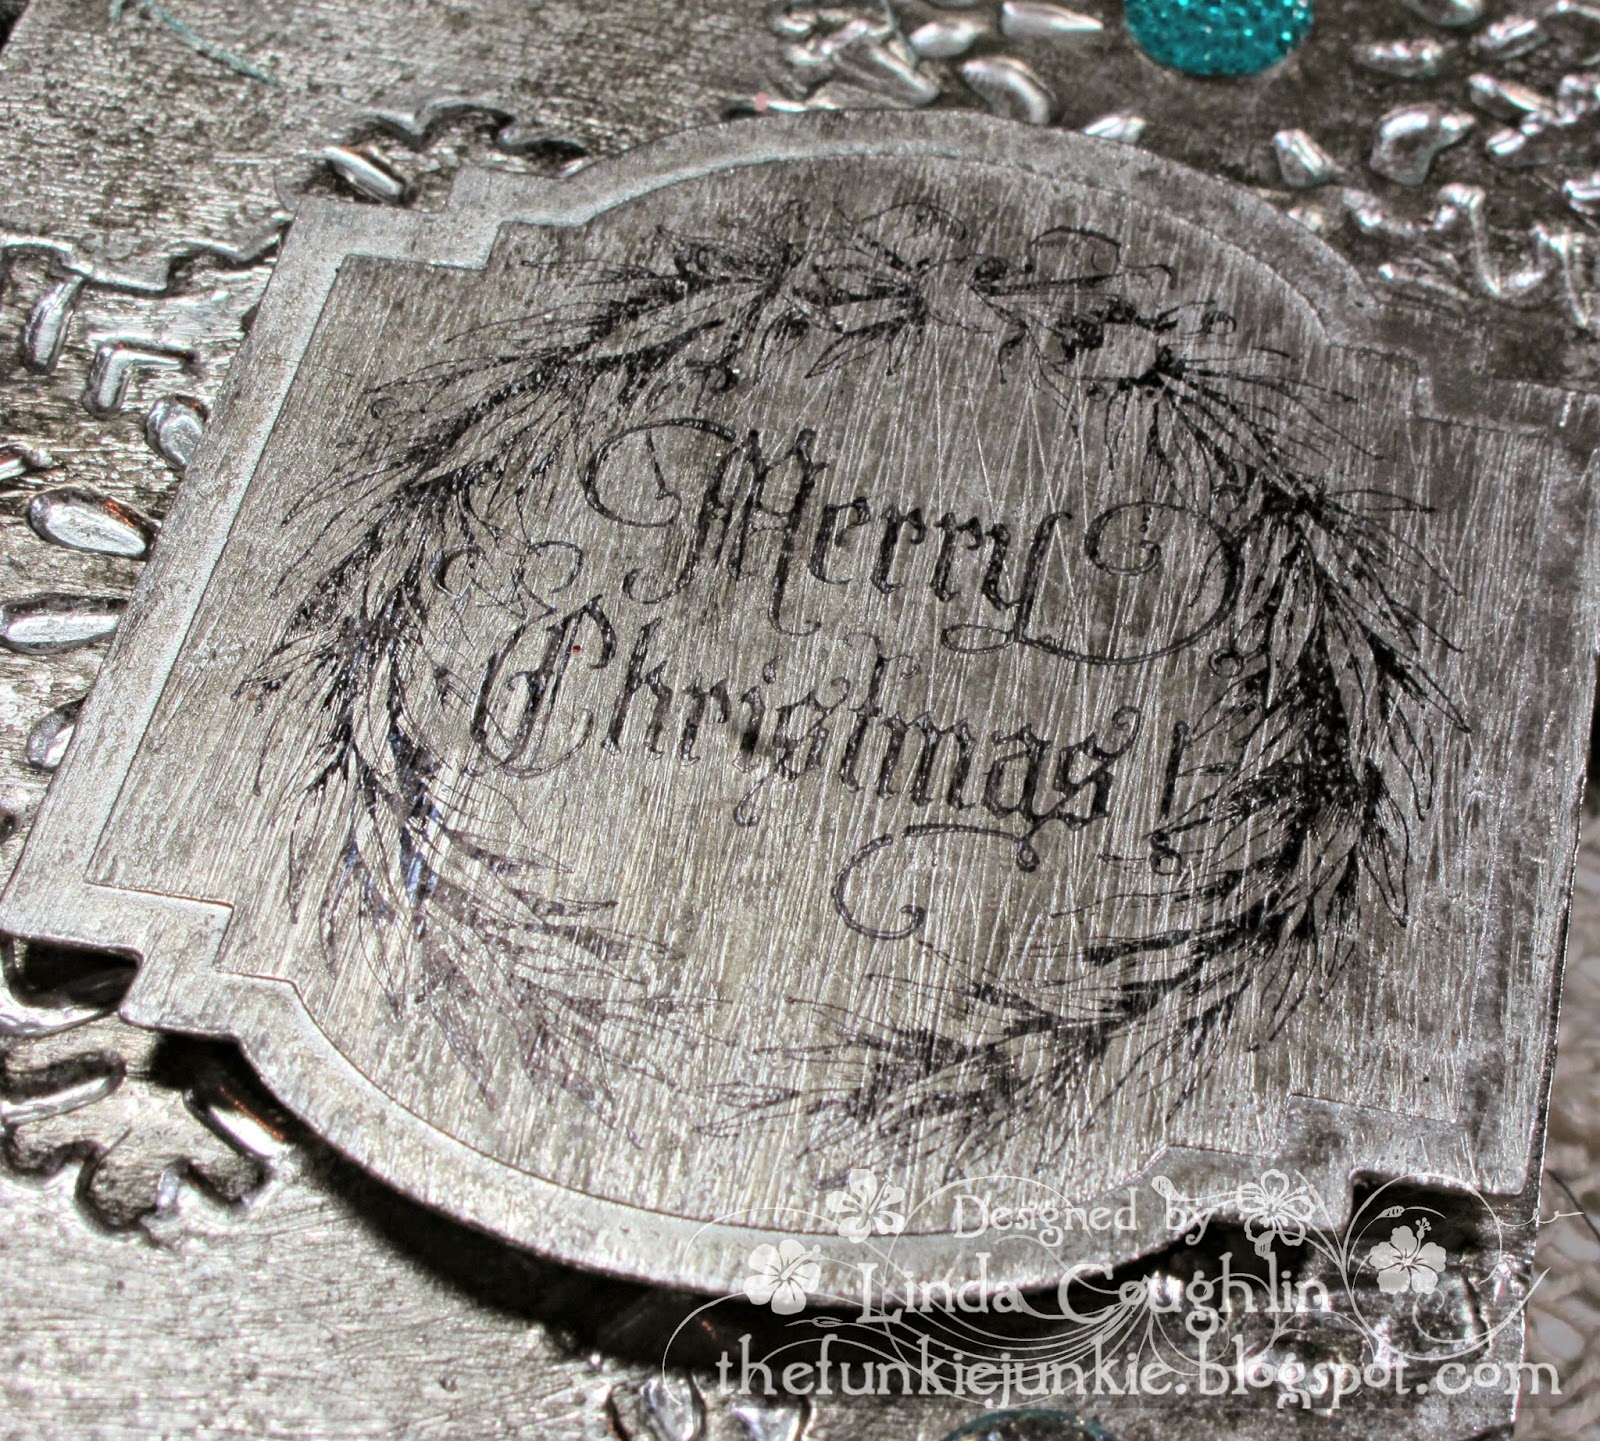
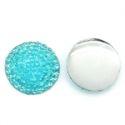
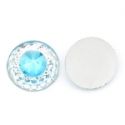
I'm not sure it really looks like galvanized metal. Shelly's does, but mine is a little shaky. But I still think it looks cool. I didn't do much embellishing because I wanted the snowflakes and faux metal work to be the main focal point. I used some turquoise gumdrops that I sell at The Funkie Junkie Boutique as well as some turquoise rhinestone embellishments also from The Funkie Junkie Boutique.
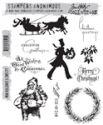
I made the sentiment panel the same way and die cut it with one of the new thinlits Labels dies and then using Jet Black Archival ink, stamped the wreath and sentiment from Mini Holidays 5.

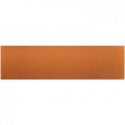
The seam binding and eyelash yarn were dyed with watered down Peacock Feathers distress ink.
That wraps up Week No. 11. How are doing on your Christmas cards? Need some inspiration? You can find loads by playing along with my 12 Tags of Christmas Funkie Junkie Style. I hope you will!

These products were used to make the above tag and are available at The Funkie Junkie Boutique, where Tim Holtz/Ranger and most other name brand products are always 20% below MSRP.
 |  |  |  |  |
 |  |  |  |  |
 |  |  |  |  |
 |  |


17 comments:
Yet again a beautiful piece!
Hugs,
Karen B. ~ Todolwen
Linda...this tag is gorgeous. It looks like galvanized metal to me! I have GOT to try those Ranger foil sheets. How those escaped me, I have no clue. :) Your tag is so exquisite and beautifully done. I love the combination of the Peacock Feathers color with the silver. Absolutely gorgeous! <3 Candy
OH man. Oh boy! Oh my word....Goodness sakes is this ever a stunning optical illusion of awesomeness. It looks like something it's not and it's doing a sensational job of it. I think your technique soared here and what a fabulous outcome. Cripes, this challenge is going to be a hoot!!!
Beautiful job Linda.
hugs,
Lisa x
Beautiful! Looks like metal to me and love the colors you used.
WOW this one is gorgeous. I love the silver metal and the blue. This one is my favorite so far.
Wow Linda! This is amazing! I can't wait to try thus technique! I can't believe we're almost to the end of the 12 tags already. Thanks for the inspiration!
Jen
Beautiful!
Just stopped by for a short hello...bbl :0)
hugs
Heather
Wow, this is beautiful Linda!
This is a stunner! I showed it to my daughter and she was Oohhing and Aahing too. Can't wait to play!
Simply fabulous! You do Shelly's faux metal technique so well! This is a beautiful tag.
Wow! That's stunning, the faux metal looks perfect to me.
Awesome Christmas tag !!!! You made a fantastic job on this Linda. Love it ! And love your tutorial.
And you are right about following Shelly.. I can encourage everyone to follow her. She is so talented !!!
Thanks for sharing. Hugs from Monica... Spain
A fabulous tag Linda! I love the silver & blue combo!
Alison xx
Just lovely, Linda! I do follow Shelly and she's awesome!! This silver metallic tag is stunning!! The faux metal finish is beautiful with the pops of blue you've embellished with :) Gorgeous!! XOXO-Shari
Hi Linda I love the pewter effect of your fab tag...just one more to go...wow where did 12 weeks go xx
Thank you so much for pointing me to Shelly's amazing tutorial! I love how you've used it here and really enjoyed making my entry for this one. Jenny x
I really like the tag at the top. It has a beautiful shade of blue green to go with the metallic shade. I have always felt that those colours look great in a metallic setting, even when they are used with larger objects, such as cars. Faux galvanized metal really has a beautiful look to it and is great for many applications.
Bernice Parsons @ Badger Anodising
Post a Comment