Wednesday, June 25, 2014

CASE It Again!

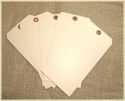
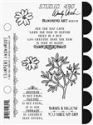
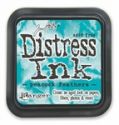
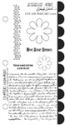
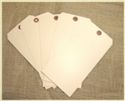
I'm back for week two of the current Frilly and Funkie challenge.  This week our Funkie team is CASE-ing their favorite tag from my 12 Tags of Christmas Funkie Junkie Style.  For my design team piece, I chose the week #5 tag to CASE.  Using a jumbo manila tag from my boutique, I started by randomly stamping images from Wendy Vecchi's Blooming Art set using Peeled Paint, Mowed Lawn and Shabby Shutters plus Peacock Feathers for the flower.

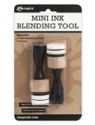
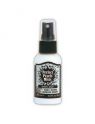
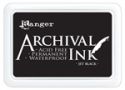
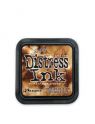
Then, using the new Mini Ink Blending Tool, which I love and highly recommend, I sponged Shabby Shutters and Peacock Feathers DI all over the tag, edging it with Vintage Photo DI.  Once that was done, I spritzed the tag with Perfect Pearls mist in Perfect Pearl. In Ranger Jet Black archival ink,  I stamped the stitching stamp twice, once right side up and once upside down to make a double row and topped it off with a few flat back rhinestones.

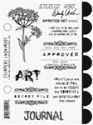
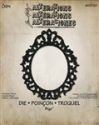
The Ornate Frame was cut from corrugated cardboard, the center was cut again out of white CS, stamped in Peacock Feathers with the gingham stamp from Nature's Art and then blended on Shabby Shutters DI.  The wildflower from Approved Art was stamped in Jet Black Archival.  The sentiment is from the Wendy Vecchi Blooming Art set

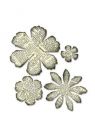
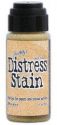
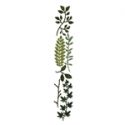
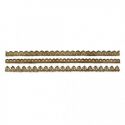
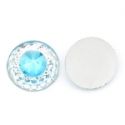
The flower is crinoline, die cut with the Tattered Florals die and stained with Scattered Straw distress stain, topped with a small rhinestone center from my shop.  I cut some Spring Greenery die cuts from kraft CS, edged them with Vintage Photo and used them with my flower.  A small strip of black was cut with the Vintage Lace die and used to embellish the bottom of the tag.

The tag was finished off with a small bronze dragonfly charm to which I added a few tiny rhinestones plus a piece of black lace tied with a Scattered Straw stained piece of rayon seam binding.

I hope you will play along with us over at Frilly and Funkie.  The challenge is open for another week.

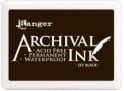
Thanks so much for stopping by today.  I hope you like my tag.  Most of the products used to create it are available at my little on-line boutique which you can get to by clicking any of the product thumbnails below or go directly to The Funkie Junkie Boutique at www.thefunkiejunkie.com.


These products are available at The Funkie Junkie Boutique where Wendy Vecchi/Tim Holtz/Ranger and most other name brand products are always 20% below MSRP.


Wednesday, June 18, 2014

CASE It!

Hi everyone, I'm back with a tag I made for this week's new Frilly and Funkie challenge.  I'm hosting this fortnight's challenge and my theme is CASE It.  And what you will be CASE-ing is one of my 12 Tags of Christmas Funkie Junkie Style.  All you need to do to play along is select one of my 2013 Christmas tags and make something similar, but with a summer (non-Christmas) style to it.  This link will take you to a listing of all the 2013 tags so you can decide which one to CASE.  I decided to CASE my Week 10 tag as it was one of my favorites from the 2103 season.  

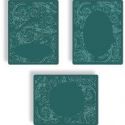
I started with a jumbo manila tag and embossed it with the Regal Flourish texture fade, using the diffuser to prevent embossing in the center oval so I could stencil and stamp there.  Using the script stamp from the Wendy Vecchi Live and Make Art set, I stamped using Jet Black archival.  The entire tag was then sponged with Vintage Photo DI plus I sponged the high points with gold ink.  I stenciled a flourish pattern using a Prima stencil and Peacock Feathers DI, then stamped the sentiment using Jet Black archival.

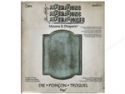
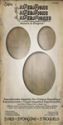
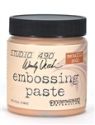
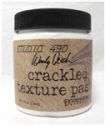
The frame was created using a combination of the cameo frame die and a sized oval die.  Wendy Vecchi's Gold Embossing Paste was spread over it, allowed to dry thoroughly and then her Crackled Embossing Paste was spread over that.  Once the crackle was dry, I used a paint brush and applied Bundled Sage distress stain.  Two coats of UTEE was applied over all of that.  I love the way it looks!

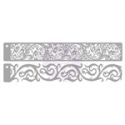
When I went to layer everything together, I found the oval cut out was too big and didn't match the stenciling - there was a gap showing.  I decided to cut a strip with the Vintage Lace decorative strip die from white CS, then applied Vintage Photo DI and more of the gold ink.  Using scissors, made small cuts all along the outside edge so it would curve around the inside of the frame and lay flat, then adhered it to the back of the frame.  That did the trick!

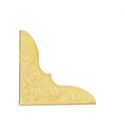
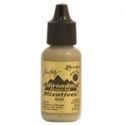
I decided to embellish the cameo frame with the new gold corners I started carrying in the shop, but I didn't like how bright and shiny they were.  So I took some gold alcohol ink fixative and a paintbrush and stippled on the gold fixative.  When it was dry, I sponged over it with a little Vintage Photo DI to age it even more.  

I finished the tag off with a few layered die cuts from the Tattered Flowers and Spring Greenery decorative strip dies plus a butterfly die cut from a book page using an old Cuttlebug die.  The embellishment was topped off with a pretty rhinestone center from my store.  

That's it.  I hope you will play along with this fun challenge over at Frilly and Funkie.  Be sure to stop by and see what the other design team members have to spark your mojo!


These products were used to make the tag above and are available at The Funkie Junkie Boutique, where Tim Holtz/Ranger, Wendy Vecchi and most other name brand products are always 20% below MSRP:


Blog Widget by LinkWithin


I changed my font at thecutestblogontheblock.com