Double click any photo to zoom in for details.
Hello! I'm back after an exciting few days of travel out to Anaheim for the Craft and Hobby Association's annual MegaShow. It's the time when most of the hobby industry launches their new products. It's such an exciting time for we hobby enthusiasts! I had a fantastic time, took classes with Tim Holtz, Dyan Reaveley, Tammy Tutterow and also I was totally thrilled to be able to meet and take classes with Marjie Kemper! And I got to rub elbows again with my friend Wendy Vecchi. Plus I got to meet some on-line friends including Candy Colwell, Linda Ledbetter and most of her Curiosity Crew - Cheryl Grigsby, Yvonne Blair, Annette Green, Susan Mostek, I got introduced to Sherry Cheever whom I have long followed and admired and ran into my former DT mate from our time at Simon Says Stamp and Show Lynn Forsythe! Holy moly, what a fantastic line up, huh?
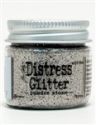
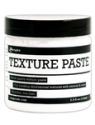
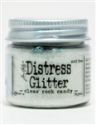
Okay, more about CHA later, let's get on with the business at hand - this week's kick off for the new Frilly and Funkie challenge. Nancy Dynes is hosting this fortnight and Nancy is challenging us to create a vintage project depicting what we "love" about winter. I think there was a collective groan from the design team when we read that challenge, comments such as "I don't like ANYTHING about winter" ensued. But as a Florida resident, I can say that I LOVE winter. Most days are from 50 to 70 with temperatures at night from 60 to 30 usually just enough cold to give a little bit and snap to the air - such a relief from the sweltering summers I do love winter crafting, especially playing with die cut snowflakes so that's the direction I took with my project. I love the icy beauty our new DT member Pamellia is creating lately so I sort of channelled her when making this project. She does amazing work with her homemade texture paste and glitter. I used Tim Holtz's texture paste and a combination of chunky glitter from Jo-Ann mixed in with Clear Rock Candy distress glitter.
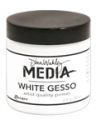
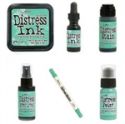
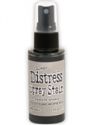
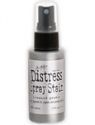
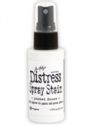
I started with a 5x7 piece of gray chipboard and gave it a coat of gesso. Then I got out the yummy new Cracked Pistachio distress spray. We all received the complete set in Tim's class (pre-order your bundle at 25% off MSRP today - click here). Tim coached us to combine it with Pumice Stone for a fabulous vintage effect. I sprayed a couple of sprays of Cracked Pistachio and a couple of sprays of Pumice Stone over the dried gesso and let them blend and run. It was a bit dark so I gave it a couple of shots of Brushed Pewter and Picket Fence, letting all the colors blend and run again. There wasn't much Cracked Pistachio showing so I gave it a final very light mist of Cracked Pistachio again and dried it all with my heat tool.

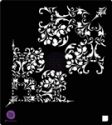
Once dry, I added a layer of Tim's texture paste through a Prima Stencil and sprinkled on the glitter. It stuck all over, even to the dried distress stains. But it didn't stick real well because it continued to flake off as I worked on it. It did stay on the texture paste.

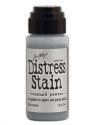
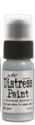
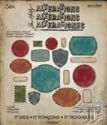
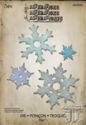
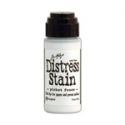
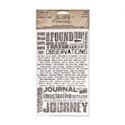
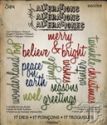
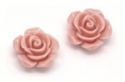
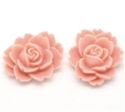
Most of the classes I took at CHA were heavy on the use of rub-ons so I have developed a real love for them, as well as Tim's new rub on tool - very cool (I have ordered 30 for the shop and they should be here in a few weeks). Going with my love of snowflakes, I cut one from chipboard and one from acrylic packaging with the Stacked Snowflake die. The chipboard snowflake was painted white with Picket Fence Distress Paint, edged with Cracked Pistachio and had Remnant Rubs applied. The clear acrylic one was sprayed with Brushed Pewter distress spray stain and set aside to air dry. A resin flower was painted with Brushed Pewter distress paint and used to top off my stacked snowflake. The Thinlits Holiday Words Script die was used to create the sentiment, cut from white CS and colored with Brushed Pewter Distress Stain.

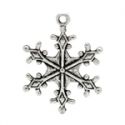
My crinkled seam binding was colored with distress sprays - Cracked Pistachio and Pumice Stone. The pin and snowflake are from my boutique. The snowflake was colored with Cracked Pistachio distress paint which was sanded off the high points. Tim shared that Mushroom Alcohol ink works terrific for lending a nice vintage tint to many products. It was applied lightly over the distress paint on the snowflake for a nice vintage feel.

Thanks so much for stopping by today. And thank you for your comments too! I hope you still stop by Frilly and Funkie to see what the Frilly side of our team has been up to. You don't be sorry that you did!

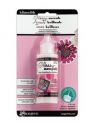
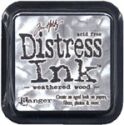
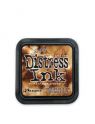
These products were used to make the project above and can be purchased at The Funkie Junkie Boutique, where Tim Holtz/Ranger and most other name brand products are always 20% below MSRP.
 |  |  |  |  |
 |  |  |  |  |
 |  |  |  |  |
 |  |  |