 |
| Double click to zoom in for details |
Welcome back to Week #4 of the 12 Tags of Christmas Funkie Junkie Style. I hope you are all having as much fun as I am, no matter whether it is just inspiration you are looking for or the challenge of making your own holiday art work.
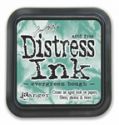
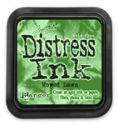
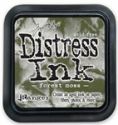
Here is Week #4 and I hope it will trigger a little inspiration for you. As I always do, I started with one of the jumbo manila tags I sell in the shop. They are roughly the same size as Tim Holtz's #10 tags. The company I buy the through calls them #12 tags. They are 8x4 inches. I love using them because they are a great, inexpensive substrate for my mixed media projects. Anyway, I started with a blank manila tag and Tim Holtz's Stripes stencil. One of his tags this year used the Stripes stencil to create a plaid effect which I absolutely loved. I think plaids are so perfect for winter crafting, especially for Christmas. I used Barn Door and Mowed Lawn to create my plaid with the Stripes stencil. I dried it with my heat tool and then sponged the edges with Vintage Photo Distress Ink, then ran the heat tool over it for a minute or two to make sure it was perfectly dry.
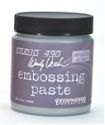
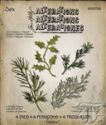
Next I used the Tim Holtz Festive stencil and Wendy Vecchi Silver embossing paste to create a pattern and dimension over top of the plaid. While the embossing paste was drying (took about an hour), I die cut the holly and greens from the Holiday Greens Thinlits die set. For the greens, I used white card stock sponged with Mowed Lawn and Forest Moss. Once cut, I edged the greens with Vintage Photo and stippled them a bit with white gesso. While I had the white gesso on a stipple brush, I applied some to the miniature pine cones used here (and sold soon at
The Funkie Junkie Boutique for a song :). The spray was topped off with a velvet poinsettia from Petaloo (also arriving soon at
The Funkie Junkie Boutique).
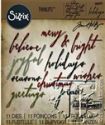
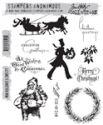
The sentiment is from Mini Holidays 5. A piece of white CS was sponged with Forest Moss and Mowed Lawn, then the Tim Holtz Distress Sprayer to so the old spritz and flick technique. I blotted off the water and dried it with a heat tool. Then I stamped the sentient with Distress Embossing ink and silver embossed it. It was fussy cut, edged with Vintage Photo, popped up with craft foam and adhered. All the embellishments were also adhered with Ranger Multi Medium Matte.
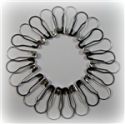
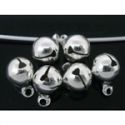
To finish it off, I added a twine bow and a couple of silver jingle bells and a Christmas bell charm, held on with a silver tone loop pin from my shop.
That's it for Week #4. A huge thank you to everyone who has played along! I'm always tickled to have you all playing with me. And thanks to everyone who has left a comment too.
I wanted to take this opportunity to remind everyone of the challenge requirement which can be found in the
Week #1 post. At a minimum your post must include a link to this challenge, a link to my store as sponsor
www.thefunkiejunkie.com and you must tell us what it was on my tag that inspired you. Please feel free to email me at
linda@thefunkiejunkie.com if you have any questions.

These products were used to make the above tag and can be purchased at The Funkie Junkie Boutique were Tim Holtz/Ranger, Wendy Vecchi and most other name brand products are always 20% below MSRP.


