Saturday, March 30, 2013
A Little Road Time
It's time for another Our Creative Corner challenge and this week Lori Rider our hostess. Lori has given us a travel challenge theme with a twist - you must use at least two different designer papers. For my card I have used some of the wonderful Pion Design For Father collection. The stamps I used are from the Route 66 plate from Artistic Outpost and, by the way, all Artistic Outpost stamps are on sale this week at The Funkie Junkie Boutique.
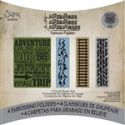
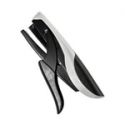
The map stamp was used on a Spellbinders die cut and the plaid paper was die cut with the TH Baroque die. I used the tire tread texture fade from the new Travel Signs texture fade set. I used some UTEE on the motorcycle and the Route 66 sign as well as the map to give them all a little pop of texture. The Road Trip banner was cut with the Tattered Banners die and attached with the Tiny Attacher. My Route 66 sign is framed up by a rusty bottle cap which can also be purchased in my shop. And that about does it. Not too many details for this one. Please stop over to Our Creative Corner to see what the other designers have to share.
Wishing all my Christian sisters and brothers a blessed Easter!
These products used on this card can be purchased at The Funkie Junkie Boutique:
Wednesday, March 27, 2013
Steampunk Easter Bonnet
Zoom in on details by clicking photo twice |
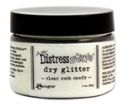
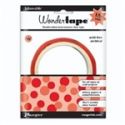
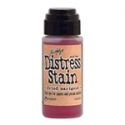
I found a top hat pattern on line, but unfortunately I didn't save the URL so I can't direct you to it. It was too small, like a party table favor and I spent quite a bit of time working on my computer/printer to enlarge the pattern pieces. Once I got the sizes right, I traced it onto black CS and then did Tim's riveted metal technique to the main body of the hat. I used 1/4" Wonder Tape to assemble the pieces. Because I wanted the Easter bonnet feel to it, I made my gears pastel, cutting them from brown chipboard, painting them with white gesso and and then dabbing with distress stains in Squeezed Lemonade, Peacock Feathers, Picked Raspberry and Dried Marigold. I sprinkled them with Rock Candy Distress Glitter while the gesso was still dry.
The flowers were made with the Tattered Pinecone die and the edging was cut with the Vintage Lace die from white CS. I stained it with Dusty Concord stain and then used Enameled DP on it. The lace edging and the flowers were glued on with Claudine Helmuth's Multi Medium Matte.
The large purple flower was actually left over from my egg carton make last week. I didn't use it then, but it just seemed to fit into my Easter bonnet. It was cut from white CS with the Tattered Florals die, sponged with Dusty Concord distress ink and also coated with Enameled EP. The egg picks were purchased - I wasn't up for making everything :)
Thanks so much for stopping by. Please hop over to Frilly and Funkie to see what the rest of the team has to inspire you today.
These products used to make this project can be purchased at The Funkie Junkie Boutique:
Sunday, March 24, 2013
Spring Blooms
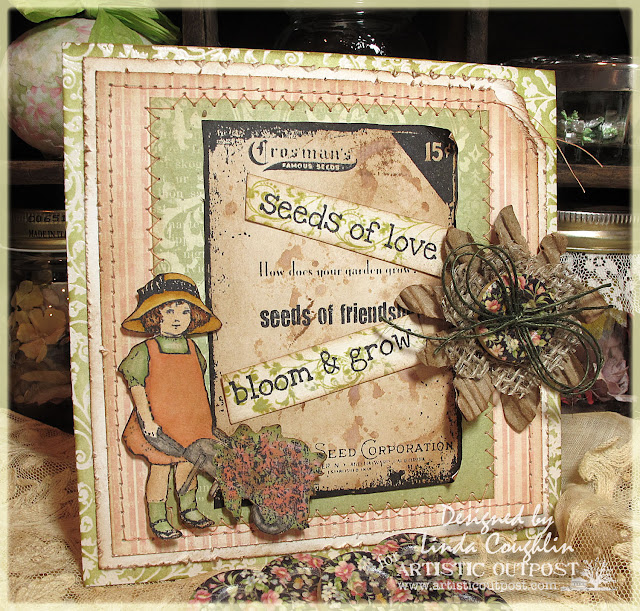
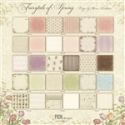
Thanks for stopping by this Sunday morning. In my neck of the woods, spring has sprung - literally! Everything is popping - bright spring green leaves, flowers, green grass. It's really put me in the mood for working with flowers and spring colors. I just got this Bloom and Grow set and have been itching to get it inked up. I paired it up with my yummy Pion Designs Fairytale of Spring paper and was off and running. The stamping was all done with Jet Black archival ink and the little flower girl was colored with Copics.
The bottom layer started as white card stock and I stamped the flourish from Serenity in Versamark and clear embossed, then sponged with a combination of Crushed Olive and Bundled Sage, plus a little Vintage Photo around the edge. I used the same stamp and same combination of ink colors to create a leafy flourish background for my sentiment strips.
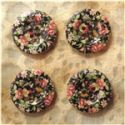
My shabby flower was made with the Tattered Florals die, corrugated cardboard, burlap and one of my new floral wooden buttons, topped off with a bit of olive burlap string. And that wraps it up for me this week.
Thanks again for stopping by and enjoy your Sunday.
These products used to make this card can be purchased at The Funkie Junkie Boutique:
Subscribe to:
Posts (Atom)